A more in-depth version of this post can be found here.
This article assumes that you have the following:
- An active Azure subscription.
- An Azure PowerShell installation. (This differs from the normal PowerShell installation.)
Let’s get started. From the Azure Powershell command prompt, type:
Add-AzureAccount
Sign in to Azure.
To get your SubscriptionName, simply execute the cmdlet Get-AzureSubscription. Use the SubscriptionName in the command below.
Set-AzureSubscription -SubscriptionName "Free Trial" -CurrentStorageAccount "yourstorageaccount"
It’s important to note that the SubscriptionName is not the GUID you see when logging in.
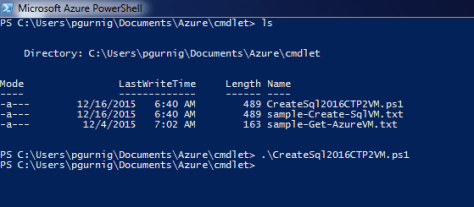
Assuming you know the ImageName and the InstanceSize, your command will use New-AzureVMConfig to create the VM. (Note that this is in a ps1 file.) In this case, we’re also piping to Add-AzureProvisioningConfig, Set-AzureSubnet and New-AzureVM.

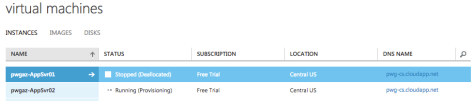
Execute the contents simply by typing the filename. Since we’ve returned to the command prompt without issue, the VM is being created.
We can see evidence of the machine being created at manage.windowsazure.com.