While working on a project, I was looking for a concise introduction to integrating VisualStudio.com with Visual Studio itself. What follows is a step-by-step for what I wish I would have found.
My goal was simply to get my project under source control.
This isn’t the only way, but it is a way. We’ll assume that you have nothing in either Visual Studio or up on visualstudio.com.
- Set up and log on to visualstudio.com with your account.
- On the top left, click on the drop down menu. Choose New team project.
- Choose a Project name, optional Description, Process Template and desired Version control. (The Project Name in this example is “Project to Delete”. Version control is Git.)
- It will take a minute or so for your project to be created. When it’s done, click Navigate to project.
- You may be presented with a Congratulations! message. You can choose to Manage work, Add code or dismiss the message. Choose Add code.
- On the code page, click Clone in Visual Studio. You’ll be prompted to open Visual Studio.
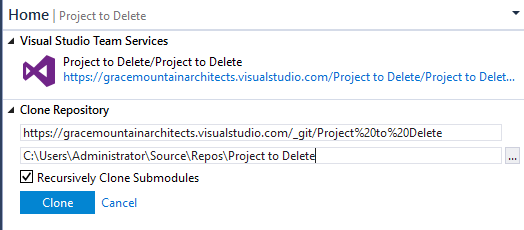
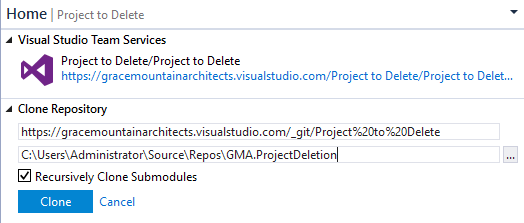
- Once in Visual Studio, open the Team Explorer tab if it’s not already open. You now have the option to clone the repository locally. In this example, I’m changing the name from “Project to Delete” to “GMA.ProjectDeletion”.
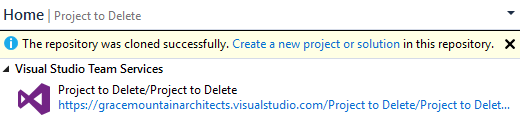
- Click on Create a new project or solution.
- Visual Studio prompts you with the type of solution. Make certain that Create new Git repository is checked.

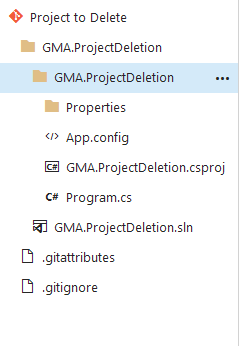
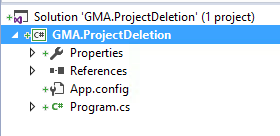
- In my case, I created a simple console app. As you can see in the screenshot below, the files are decorated with the + sign stipulating that they are new files not yet checked in to source control.
- Back in Team Explorer, click on Changes.
- Enter a commit message, click Commit All. Near the top, there’s a message: “Sync to share your changes with the server.” Click the Sync link.
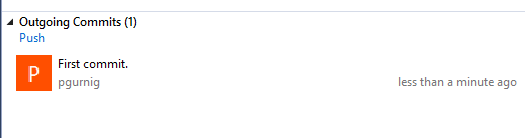
- Finally, click the Push link under Outgoing Commits.
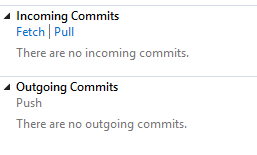
- Note now there are no Incoming or Outgoing Commits.
- Back on Visual Studio online now, note the solution is checked in.